Table of Contents
Understanding the Magic of Frozen French Chocolate Dome
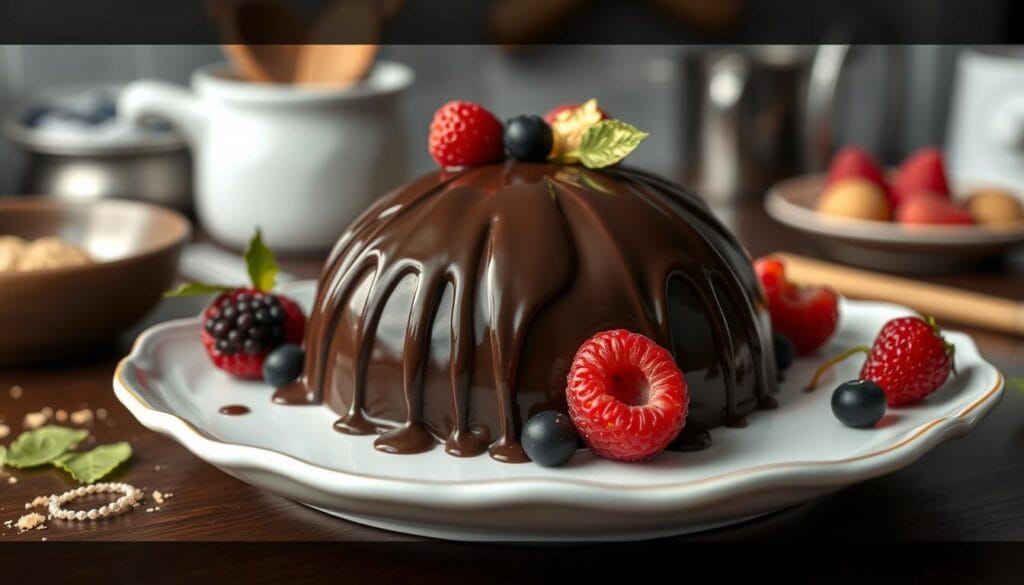
The world of French chocolate baking is a special place in culinary art. The chocolate mousse dome cake is a top example of delicate pastry work. It’s not just a sweet treat but a sign of French patisserie’s precision and creativity.

History of French Chocolate Domes
The chocolate dome has its roots in classic French pastry techniques. It became a revolutionary dessert in professional kitchens. Pastry chefs created it to show off their skills and vision.
The dome shape lets chefs add layers and textures. This makes the dessert a complex culinary experience. It pushes the limits of traditional desserts.
Why This Dessert Is Special
- Stunning visual presentation
- Multilayered flavor profiles
- Technical complexity
- Artistic expression through food
The chocolate mousse dome cake is special because of its textures and design. Each bite is a mix of smooth chocolate, delicate mousse, and layers. It’s a treat for the taste buds.
Basic Components and Structure
The classic dome-shaped dessert includes:
- Rich chocolate mousse base
- Crisp interior layers
- Smooth outer glaze
- Decorative elements
“A true French chocolate dome is not just a dessert, but a work of culinary art” – Master Pastry Chef
Our journey into French chocolate baking shows a dessert that’s about technique and presentation. The chocolate dome is the peak of pastry innovation. It invites chefs and dessert lovers to discover its beauty.
Essential Ingredients and Equipment for Your Chocolate Dome
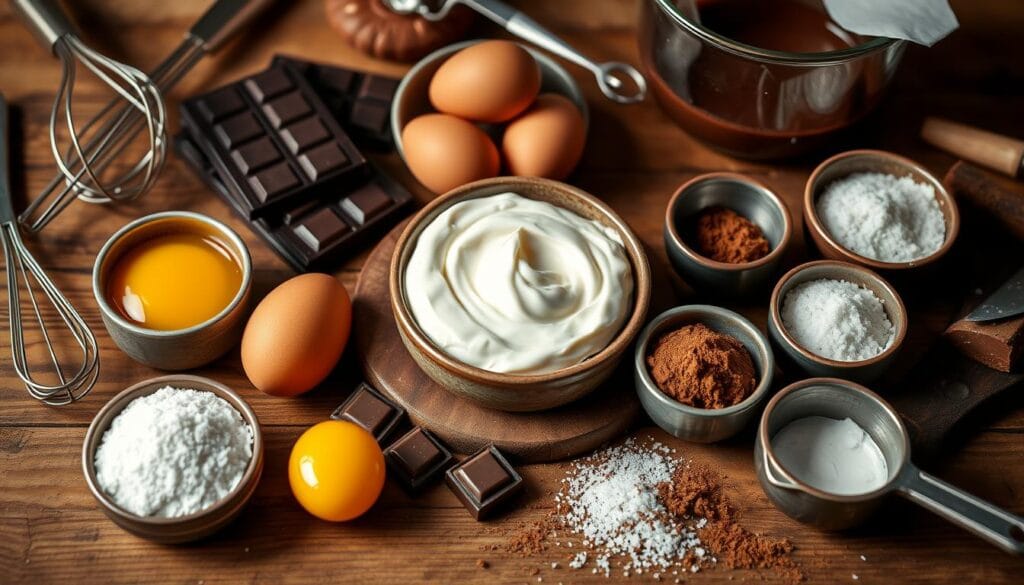
Making a perfect chocolate mousse dome recipe</b> needs precision and top-notch ingredients. Our gourmet chocolate treat starts with the right parts and tools. This ensures a stunning dessert that will wow even the pickiest eaters.

- Premium chocolate (dark or semi-sweet, at least 70% cocoa)
- Heavy whipping cream
- Egg yolks
- Granulated sugar
- Unsalted butter
- Gelatin powder
For the tools, you’ll need the following:
- Silicone dome-shaped molds
- Digital kitchen scale
- Instant-read thermometer
- Stand mixer or hand mixer
- Double boiler or heat-safe bowl
- Rubber spatula
“The secret to an exceptional chocolate mousse dome lies in the quality of ingredients and precision of technique.” – Professional Pastry Chef
When picking chocolate, choose high-quality chocolate with a smooth texture and deep flavor. The right tools will help you get professional results in your chocolate mousse dome recipe</b>.
Preparing the Perfect Chocolate Mousse Base
Making chocolate mousse domes with mirror glaze needs care and love. The base of any great dessert is key. We’ll show you how to turn simple ingredients into something special.

Choosing the Right Chocolate
Choosing top-notch chocolate is essential for your chocolate mousse. We suggest:
- Dark chocolate with 70% cocoa content
- Single-origin chocolates for complex flavors
- Couverture-grade chocolate for the best gloss and texture
Mastering the Mousse Texture
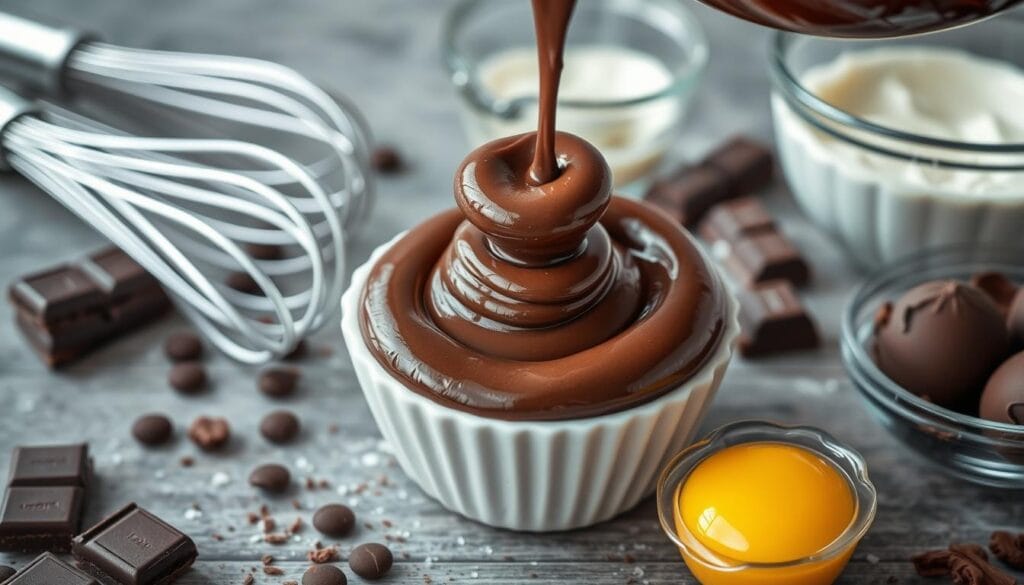
Getting a smooth mousse texture is all about technique. Folding gently keeps air bubbles out, making it light and rich. Patience is your greatest culinary tool.
“Perfection is not about complexity, but about understanding your ingredients.” – Professional Pastry Chef
Temperature Control Tips
Controlling temperature is what sets pros apart from amateurs. Here are our top tips:
- Use room temperature eggs for better volume
- Melt chocolate slowly using a double-boiler
- Chill mixing bowls before whipping cream
- Allow gradual cooling between steps
Creating the Signature Dome Shape
Making the perfect chocolate dome dessert needs skill and precision. It’s not just a treat; it’s a work of art that requires focus and technique.
To get the iconic dome shape, use special silicone molds. These molds are key for smooth, even surfaces that will make your dessert look amazing.
- Select high-quality silicone molds with smooth interior surfaces
- Choose dome-shaped molds in various sizes for versatility
- Ensure molds are completely clean and dry before use
Getting a flawless chocolate dome dessert starts with careful prep and precise filling. Use a piping bag to spread your chocolate mousse or filling evenly. This helps avoid air bubbles and ensures a smooth layer.
“A perfect dome is a balance between technique and artistic expression” – Professional Pastry Chef
Temperature control is crucial for your frozen French chocolate dome. Freeze the filled molds at a steady temperature to keep the shape and stop crystals from forming.
- Fill molds 3/4 full with prepared mousse
- Tap molds gently to remove potential air pockets
- Freeze at -18°C (0°F) for optimal results
With practice and patience, you’ll get better at making stunning chocolate dome desserts. They’ll be as beautiful as they are delicious.
Step-by-Step Guide to Frozen French Chocolate Dome
Making a stunning chocolate mousse dome needs care and patience. Our detailed guide will show you how to make this fancy dessert at home. You’ll get pro-quality results with our help.
Preparing the Molds
Good chocolate mousse dome recipes start with the right mold prep. Pick smooth, clean silicone half-sphere molds. Spray them lightly with cooking spray for easy dome removal.
- Choose high-quality silicone molds
- Ensure molds are completely clean
- Use non-stick spray sparingly
Layering Techniques
Layering is key for a beautiful and tasty chocolate dome. Start with a thin mousse base layer. Let it set a bit before adding more layers. This way, you get clean, separate layers in your dessert.
- Start with a thin chocolate mousse base
- Partially freeze between layers
- Alternate textures and flavors if desired
Freezing Methods
Freezing right is vital for your chocolate dome’s shape. Freeze at 0°F (-18°C) for 4-6 hours. This makes sure your dome looks great and holds its shape.
“The secret to a perfect frozen chocolate dome is patience and precision in freezing.” – Pastry Chef Recommendation
Remember, practice makes perfect with your chocolate mousse dome. Every try will make you better at making this fancy dessert.
Mastering the Mirror Glaze Finish
Creating the perfect mirror glaze for chocolate mousse domes is all about precision and skill. This technique turns a simple dessert into a stunning masterpiece.
The mirror glaze process needs careful attention to temperature and ingredient choice. Here are the key steps for a flawless, reflective surface:
- Select high-quality white chocolate as the base
- Use neutral-colored gel food coloring for vibrant results
- Maintain precise temperature between 90-95°F
- Strain the glaze to remove any potential lumps
Getting the perfect shine involves a few key techniques. Temperature control is paramount. If it’s too hot, the glaze will be too thin. If it’s too cool, it won’t shine like a mirror.
“A perfect mirror glaze is like a culinary work of art – smooth, reflective, and absolutely mesmerizing.” – Professional Pastry Chef
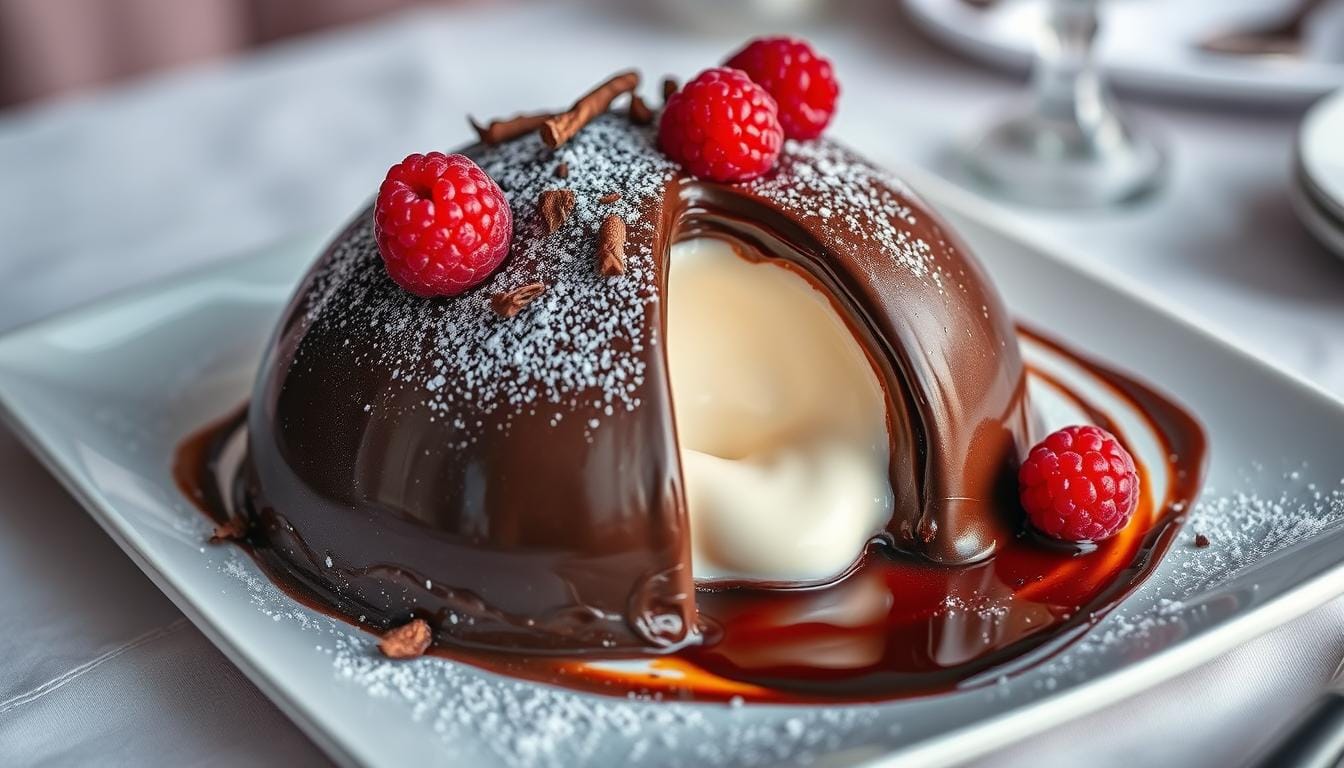
To apply the glaze, pour it smoothly over the frozen chocolate mousse domes. Let any extra glaze drip off. This creates a glossy surface that catches the light and wows everyone.
- Use a rotating cake stand for even application
- Work quickly to prevent glaze from setting
- Place glazed domes on a wire rack for clean edges
Our professional tip: practice makes perfect. Each try will get you closer to creating a truly spectacular gourmet chocolate treat that looks as incredible as it tastes.
Decorative Techniques and Presentation Ideas
Making a chocolate dessert look like art takes skill and creativity. In French patisserie, how it looks is as key as how it tastes. We’ll show you how to make your frozen chocolate dome go from good to amazing.
Elegant Garnishing Options
Adding garnishes to your chocolate dessert can make it look stunning and taste even better. Here are some top tips:
- Delicate chocolate shards
- Gold leaf accents
- Fresh berries
- Edible flowers
- Caramel drizzles
Sophisticated Plating Suggestions
The right plate can turn your French patisserie masterpiece into a showstopper. Pick plates that are neutral in color. This lets the chocolate dome’s details stand out. White porcelain or slate plates are perfect.
Professional Finishing Touches
Master chefs know that the little things make a big difference. Here’s what we suggest:
- Use a warm palette knife for smooth glaze
- Make decorative elements symmetrical
- Keep the temperature just right
- Practice glazing techniques
“In pastry, perfection is not about complexity, but about precision and passion.” – French Pastry Chef
Your chocolate dome will be a beautiful centerpiece. It will show off the beauty of French culinary art.
Troubleshooting Common Issues
Making a perfect frozen French chocolate dome can be tough. Even skilled bakers face problems. We’ll help you solve common issues so your dessert looks amazing.
Texture issues are a big problem. If your mousse is grainy or separates, it’s usually because of temperature or mixing. Here’s how to fix it:
- Make sure chocolate melts slowly at low heat
- Fold ingredients gently for a smooth mix
- Use room temperature eggs for better mixing
Freezing can also be a challenge. It might make your dessert have ice crystals or soft spots. Here’s what to do:
- Freeze on a flat, level shelf
- Wrap the dome in plastic wrap to keep it dry
- Freeze at a steady -18°C or 0°F
“Patience and precision are key to mastering the frozen French chocolate dome” – Professional Pastry Chef
Glaze problems can ruin your dessert’s look. Streaks, bubbles, or uneven coating are common. To get a perfect glaze, keep it between 32-34°C and strain it first.
Remember, it takes practice to get this dessert right. Every try gets you closer to a stunning frozen French chocolate dome that will wow your guests.
Storage and Serving Recommendations
Keeping your molten chocolate cake fresh is key. Our guide will show you how to keep it perfect from start to finish. Enjoy every delicious bite.
Perfect Storage Strategies
Storing your gluten-free chocolate cake right is important. Here are the best ways to do it:
- Wrap the chocolate dome tightly in plastic wrap
- Place in an airtight container
- Store in the freezer at 0°F (-18°C)
- Consume within 2-3 weeks for the best taste
Thawing with Care
Thawing your dessert correctly is essential. Here’s how to do it right:
- Take it out of the freezer and chill in the fridge for 2-3 hours
- Let it sit at room temperature for 15-20 minutes before serving
- Don’t use direct heat or the microwave to thaw
Ideal Serving Temperature
The right temperature is crucial for enjoying your chocolate dome. Serve it between 40-45°F (4-7°C). This ensures a firm mousse and smooth glaze.
Pro tip: A slightly chilled dessert brings out the chocolate flavors and keeps the dome shape.
By following these tips, your French chocolate dome will look and taste amazing. It will go from freezer to plate perfectly.
Conclusion
Making a frozen French chocolate dome is the top achievement in home baking. We’ve shown how, with effort and patience, anyone can make a beautiful French patisserie dessert. This dessert is not just food; it’s a work of art that excites and challenges home cooks.
We’ve covered every detail, from picking the best chocolate to achieving a perfect mirror glaze. It might look hard, but each step boosts your baking skills. Whether it’s for a big event or just because, this dessert will wow your friends and feed your love for baking.
This dessert is special because you can try different flavors and designs. As you get better, you’ll make desserts that look like they came from a fancy bakery. Baking is all about love, patience, and always learning more.
Our last tip is to dive into the challenge, enjoy every step, and relish the taste of your frozen French chocolate dome. Your hard work will turn a tricky recipe into a memorable treat.
FAQ
What is a Frozen French Chocolate Dome?
A Frozen French Chocolate Dome is a fancy French dessert. It has a dome shape and a shiny mirror glaze. It’s made with rich chocolate and looks amazing, thanks to special molding and top-quality chocolate.
How difficult is it to make a Chocolate Dome at home?
Making a chocolate dome is a bit tricky but doable with effort. You’ll need special tools and to pay close attention to details. Start with a simple recipe and get better with practice.
What equipment do I need to make a Chocolate Dome?
You’ll need dome molds, a kitchen thermometer, a stand mixer, and piping bags. Also, a smooth work surface and tools for the mirror glaze are important. This includes a small saucepan and a fine-mesh strainer.
Can I make a gluten-free version of the Chocolate Dome?
Yes, you can! Most recipes are gluten-free. Just use gluten-free chocolate and check the labels of all ingredients. Choose high-quality dark chocolate for the best taste.
How long does a Frozen Chocolate Dome last?
A Chocolate Dome can last 2-3 weeks in the freezer. Keep it frozen until 15-20 minutes before serving. This helps it stay fresh and look great.
What’s the secret to a perfect mirror glaze?
The secret is keeping the glaze at 90-95°F (32-35°C) when you pour it. This makes it smooth and shiny. Use a candy thermometer and strain the glaze to avoid lumps.
Can I customize the flavors of my Chocolate Dome?
Absolutely! You can try different flavors like raspberry, coffee, or orange. You can also mix different chocolates for a unique taste.
Is a Chocolate Dome considered a professional-level dessert?
Yes, Chocolate Domes are known for their high-end French patisserie. But, with practice, home bakers can make it too. It’s a great way to impress your guests.

Frozen French Chocolate Dome
Equipment
- Silicone dome molds
- Stand mixer or hand mixer
- Double boiler
- Rubber spatula
- Instant-read thermometer
- Fine-mesh strainer
- Wire rack
Ingredients
Chocolate Mousse
- 200 g dark chocolate 70% cocoa or higher
- 300 ml heavy whipping cream chilled
- 3 egg yolks room temperature
- 50 g granulated sugar
- 2 tsp gelatin powder bloomed in water
Mirror Glaze
- 150 g white chocolate finely chopped
- 150 g sugar
- 150 ml water
- 100 ml sweetened condensed milk
- 2 tsp gelatin powder bloomed
- gel food coloring optional, for color effect
Instructions
- Melt dark chocolate gently over a double boiler. Set aside.
- Whip cream to soft peaks and refrigerate.
- Whisk egg yolks with sugar until pale. Slowly add to melted chocolate and mix.
- Fold in whipped cream and bloomed gelatin. Combine gently until smooth mousse forms.
- Pipe mousse into silicone dome molds. Tap to remove air bubbles and freeze for 4–6 hours.
- To make mirror glaze, heat water, sugar, and condensed milk until hot. Add gelatin, then pour over white chocolate.
- Let stand, then blend and strain glaze. Cool to 90–95°F (32–35°C).
- Unmold frozen domes, place on wire rack, and pour glaze evenly over each dome.
- Decorate with edible gold, berries, or chocolate shards as desired. Store chilled until serving.
